
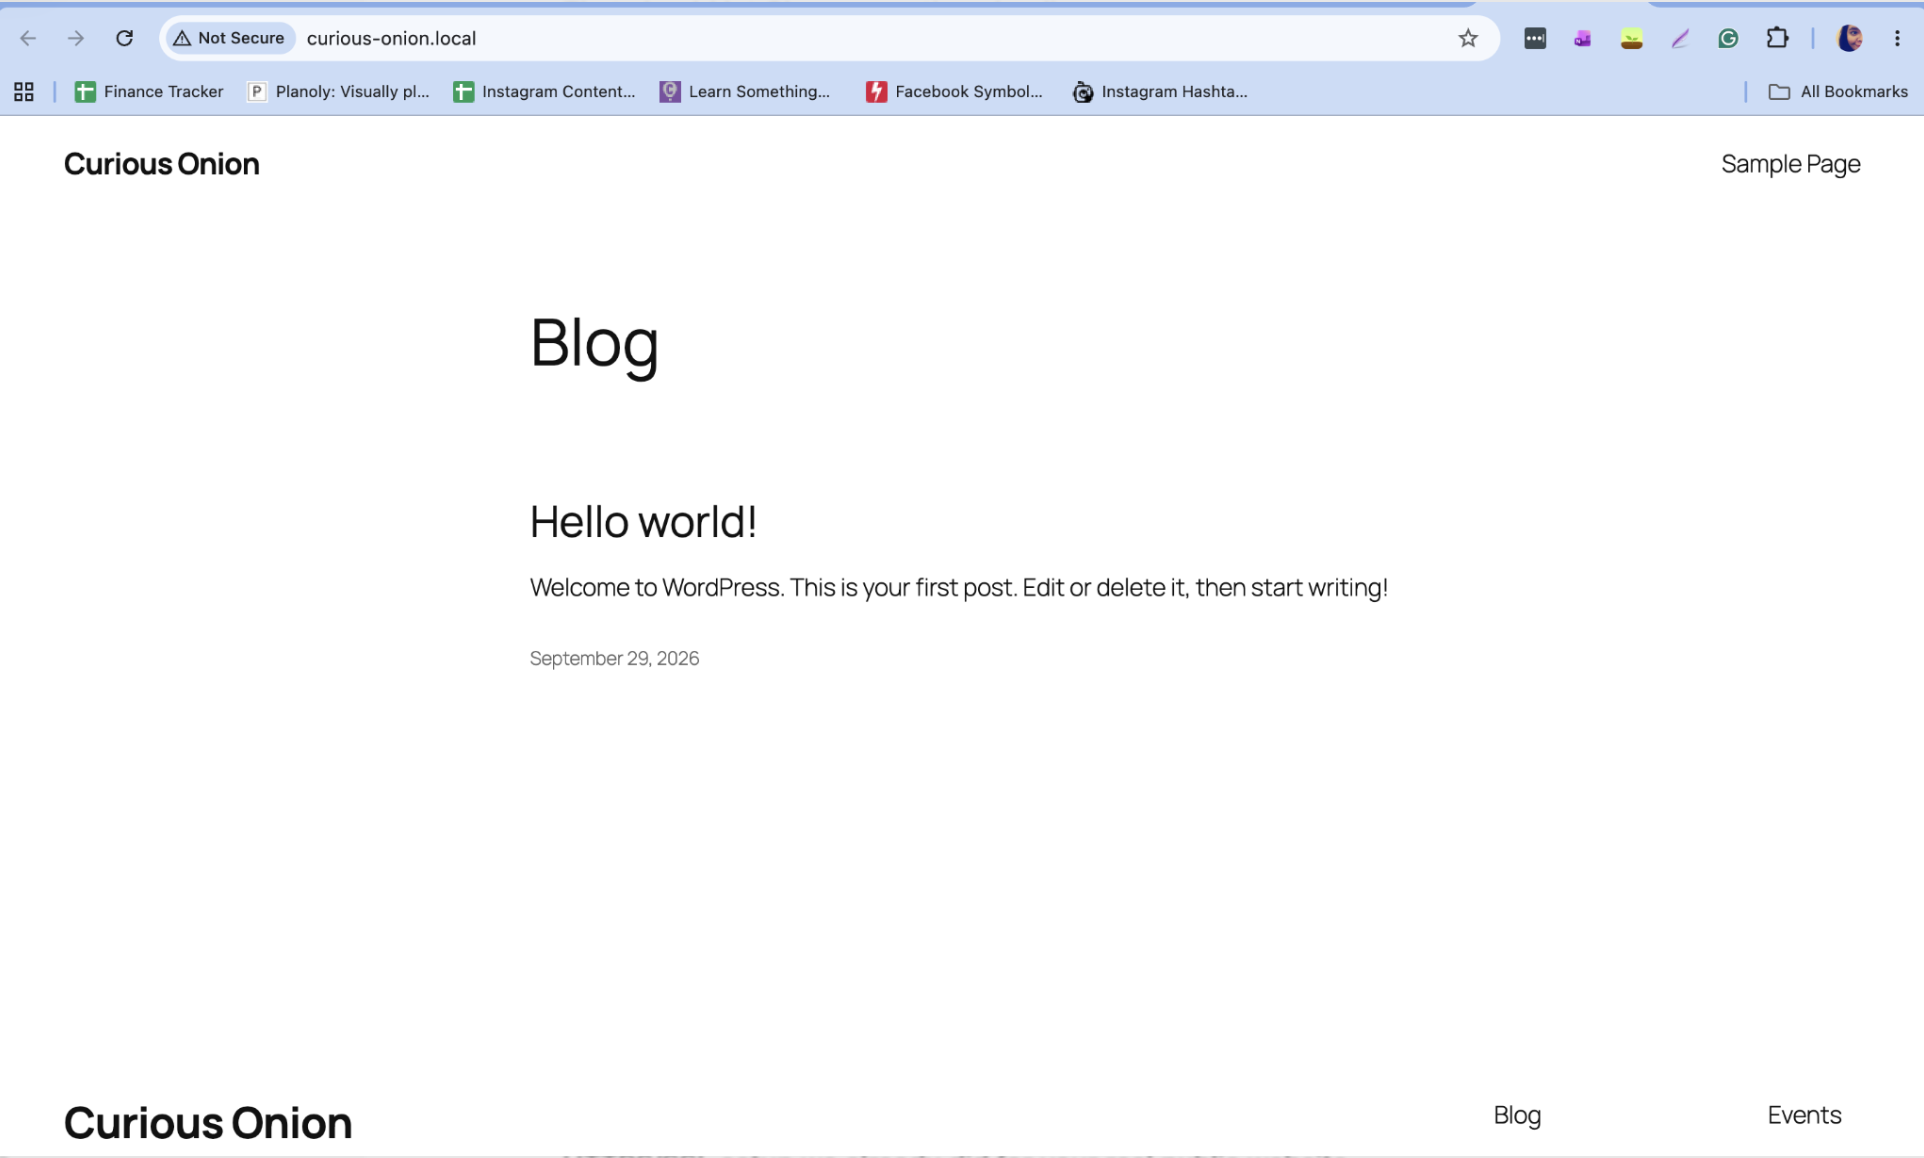
I’m learning how to create a WordPress at the moment. For this, I’d need a WordPress locally on my Mac for this so I’d like to share with you how it went about for me.
Why I Needed WordPress on Mac
There is a whole other article I wrote talking about why I decided to get into this project. See the article here. I set up GitHub and my VS Code environment last time and I talked about it in the article. So, if you’d like to read that, go check it out.
This website that you are in is the website I want to put the theme on but I do not want to experiment on a new theme on this. This is why I think I’d need to set up WordPress in my local computer and then there I can test the theme that I am trying to build.
So, how do you get a working WordPress locally on a Mac computer? ChatGPT suggested to use LocalWP. Basically, a WordPress environment needs PHP, a web server and a database. What LocalWP does is set these up. I was and still am itching to understand how to setup a WordPress environment manually to be honest, but I have to stop myself from getting down that rabbit hole. I just had to be content with LocalWP doing it for me for now. Maybe, it will be another project in the future.
Setting Up WordPress Locally on Mac with LocalWP
LocalWP was pretty easy to download in my Mac. I just had to figure out what version of Mac I have so I can download the right Local version. This is the link to the LocalWP site if you’d like to check it. The steps were pretty straightforward when it came to just installing the app. I do not want to discuss the whole installation but I found some documentation from LocalWP that might help you for your own machine. Here’s the link.
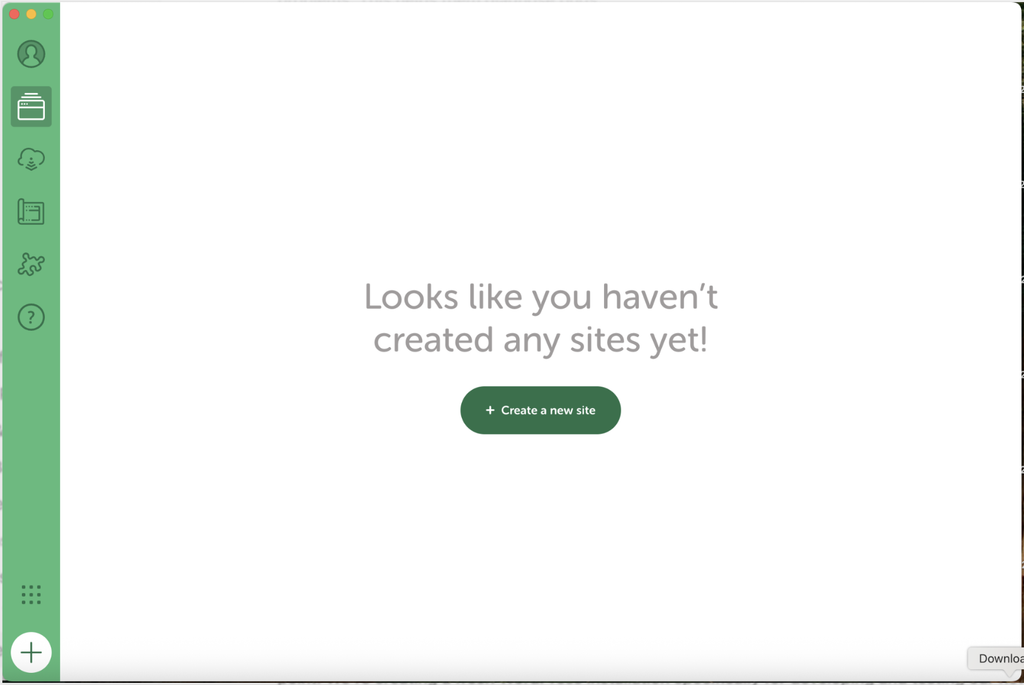
There was a pop up window asking me about sending enabling error reports as as I opened the application. I just closed this. It can be set up later anyway. I opened Local app, and then got to a screen like below. If you’re following what I’m doing, this is what a fresh install would look like.
Creating My Local WordPress Site
Now, what I wanted is to create a new site. So I just went on and clicked that. For what I was doing, I did not really bother to look up what the other options were.
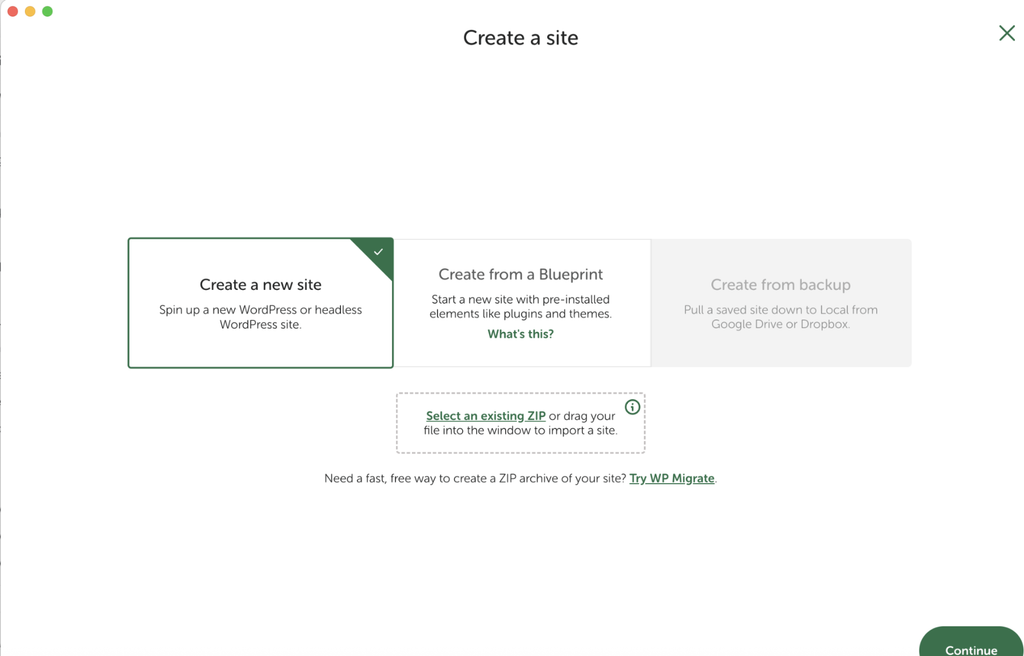
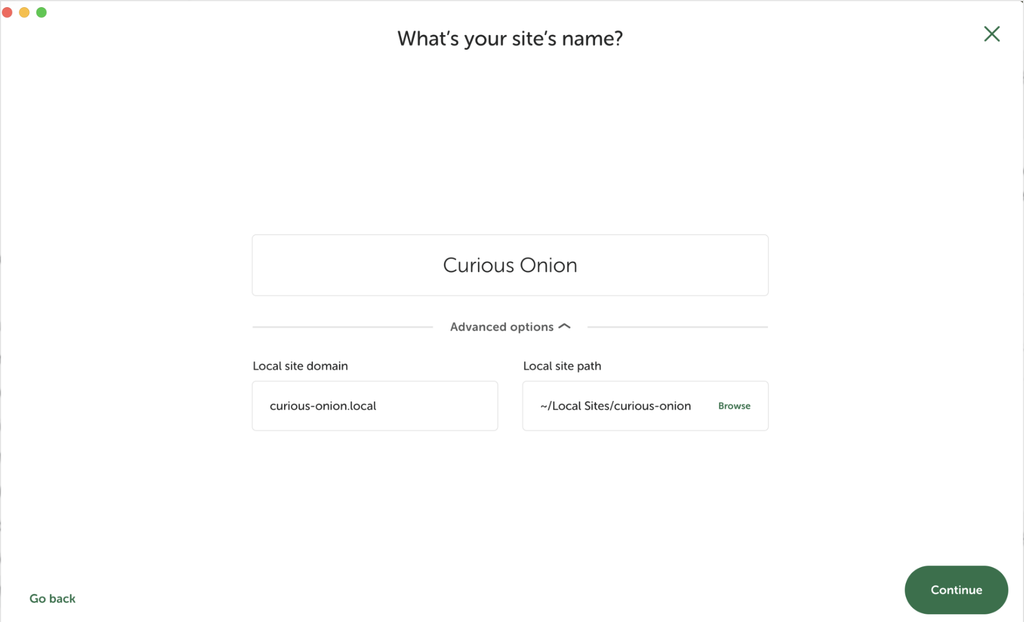
I then saw this next screen. Because I am working on a theme for this Curious Onion website, I just named this local site as Curious Onion as well. Keeping projects make sense to me later is important to me, so creating the same name might help me remember what this site is about.
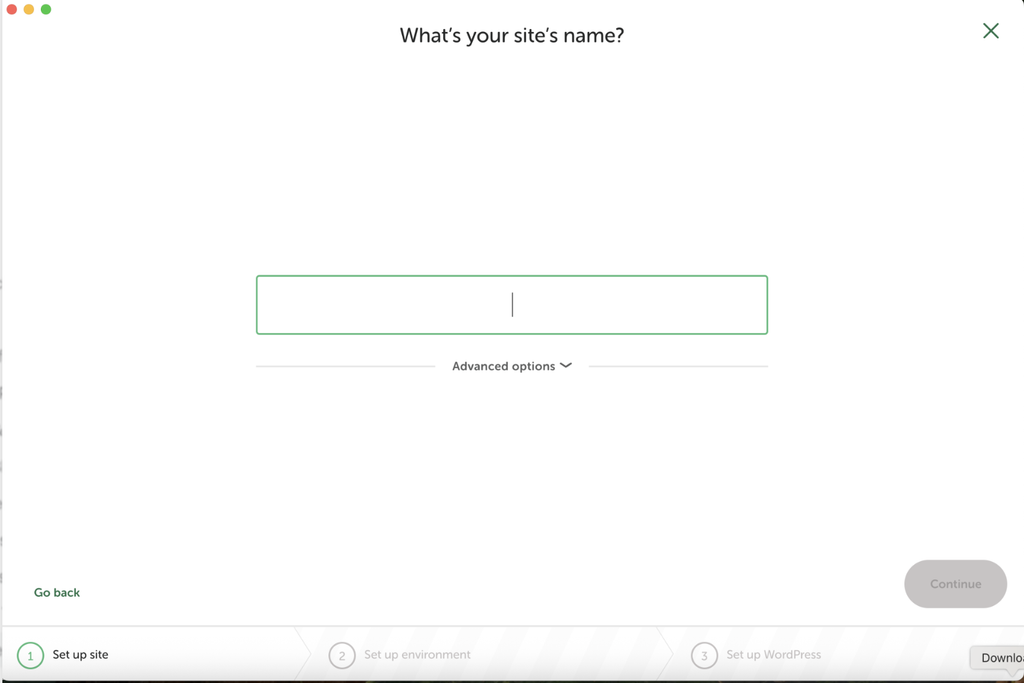
As for the advanced options, it just let me choose a local domain name and where I’d want the WordPress files to be located. I did not really touch these as I was setting things up.
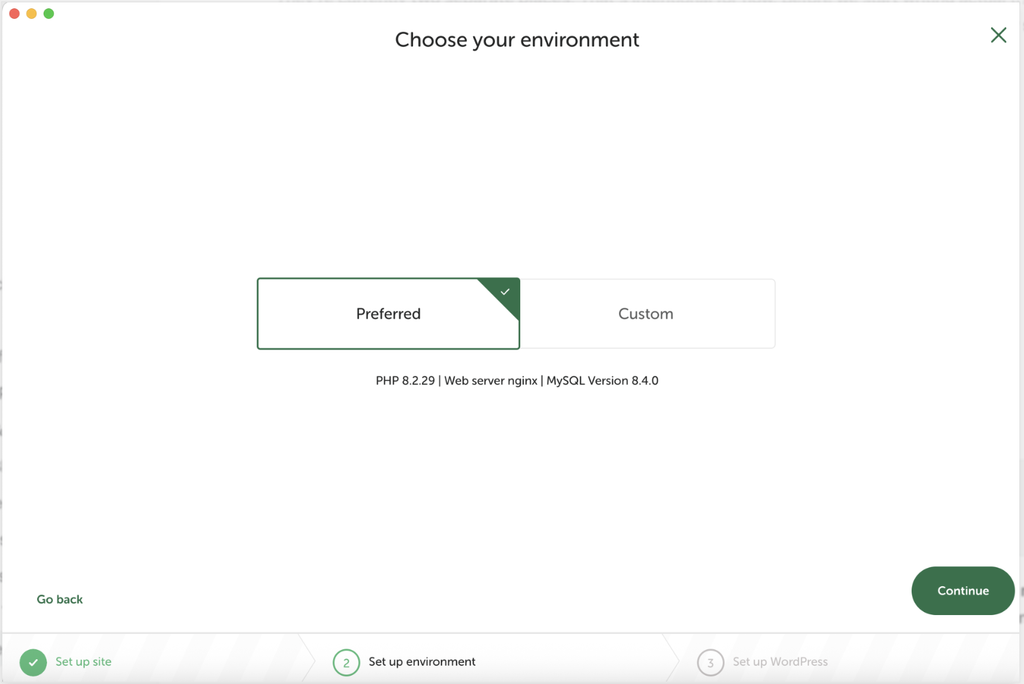
Then, I got to another screen, which looks like below. I just chose Preferred for now as anything custom is not necessary. Again, I want to to go down the rabbit hole but we just need to create an environment where I can build my WordPress theme. We do not need to complicate things right now!
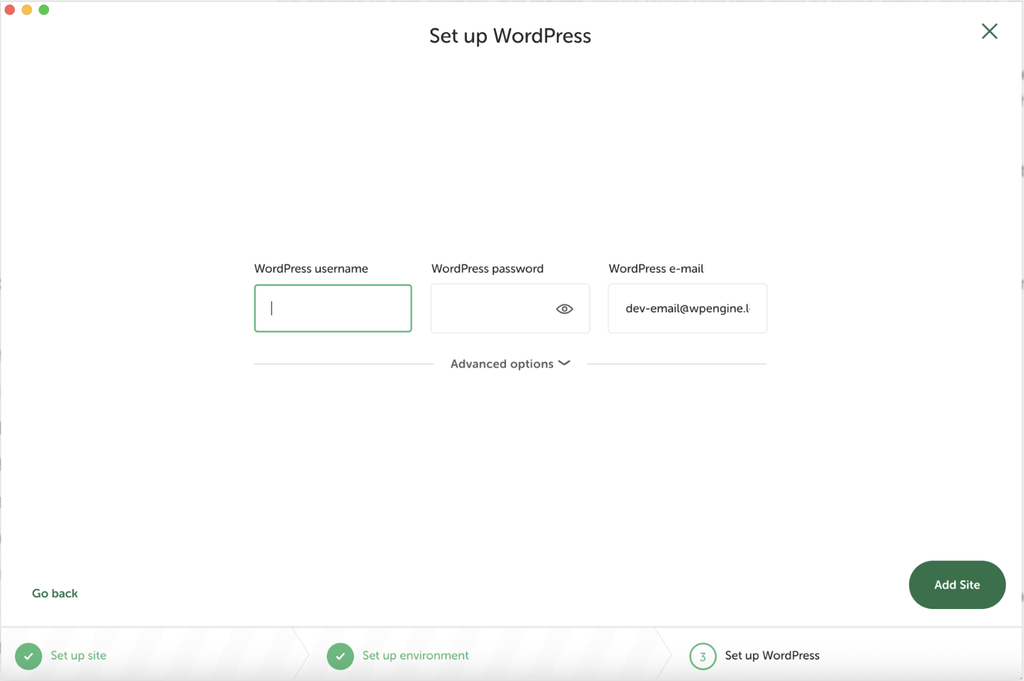
Any WordPress site would need a username and a password, the next screen is where it prompted me for it. I just went on and gave it a username and password. The e-mail setup is not really necessary either for now so I just left that. It is not really needed for the kind of things I’d be doing with this local site.
A Problem Encountered When Creating the Site
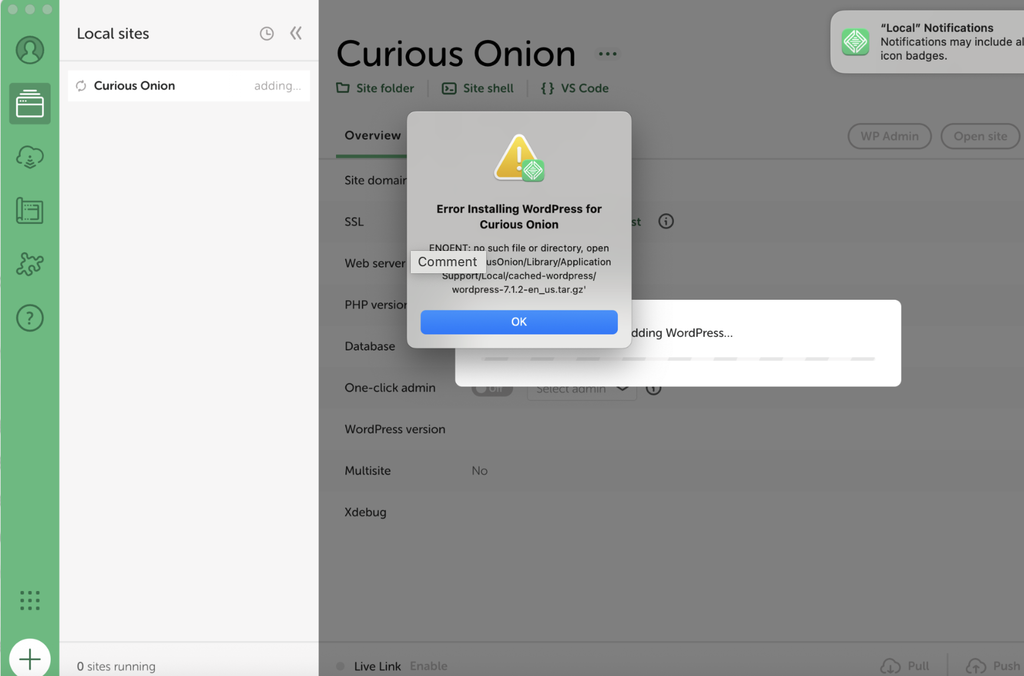
I thought that it would be smooth sailing from here on. The next thing that should be happening is that it would start installing everything needed for the WordPress setup. But I managed to find a hurdle and it was that there seems to be a missing file that Local is trying to look for but was not there. See below the screenshot of the error that I got.
Fixing the Missing WordPress File
It was resolved eventually after maybe an hour with going back and forth with ChatGPT. I won’t go into details of what trial and error went through. The gist of the problem was that there was no “wordpress-7.1.2-en_us.tar.gz” in a folder called “cached-wordpress“. All I had to do was just manually download the file by using the command below in the Mac terminal.
curl -L https://downloads.wordpress.org/release/wordpress-7.1.2.tar.gz -o "$HOME/Library/Application Support/Local/cached-wordpress/wordpress-7.1.2-en_us.tar.gz"There might be another way to go about this without using the Terminal. I guess if I just normally downloaded the file from WordPress, renamed the file to “wordpress-7.1.2-en_us.tar.gz” and then made sure to move the file into the “cached-wordpress” folder, it would be pretty much the same thing. If you’ve tried this method yourself, I’d love to hear from you if this worked just fine as well.
After manually downloading the WordPress file that Local said was missing. I deleted the site that I created because it was broken due to the missing WordPress. If you could look at the image below, this is where I found the delete button.
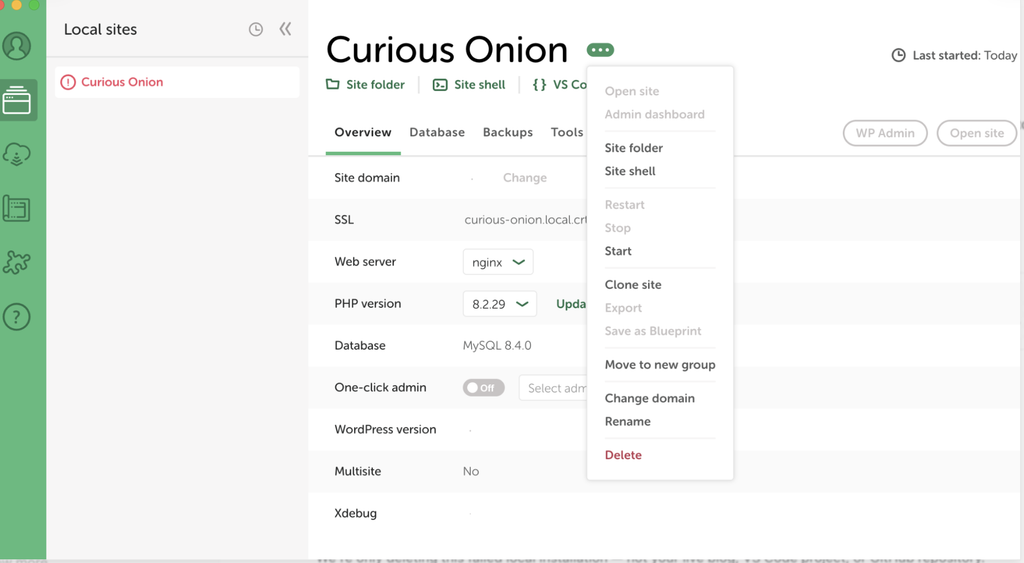
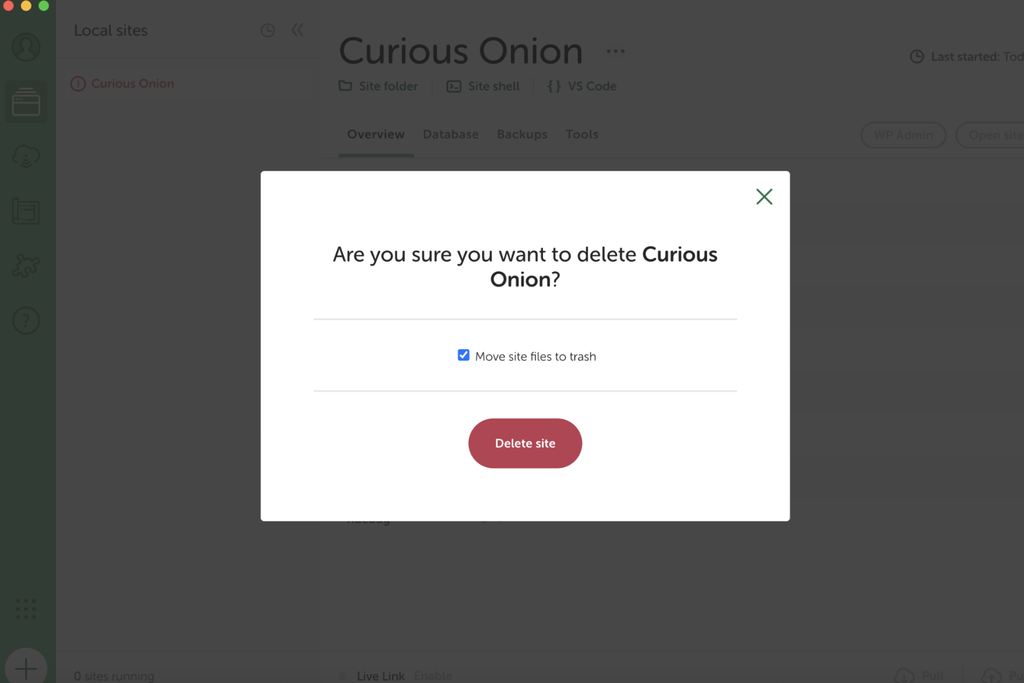
I saw a prompt with a Delete button, so I clicked this Delete button. I also just made sure that whatever files came with the setup were also deleted so, I just ticked off that box.
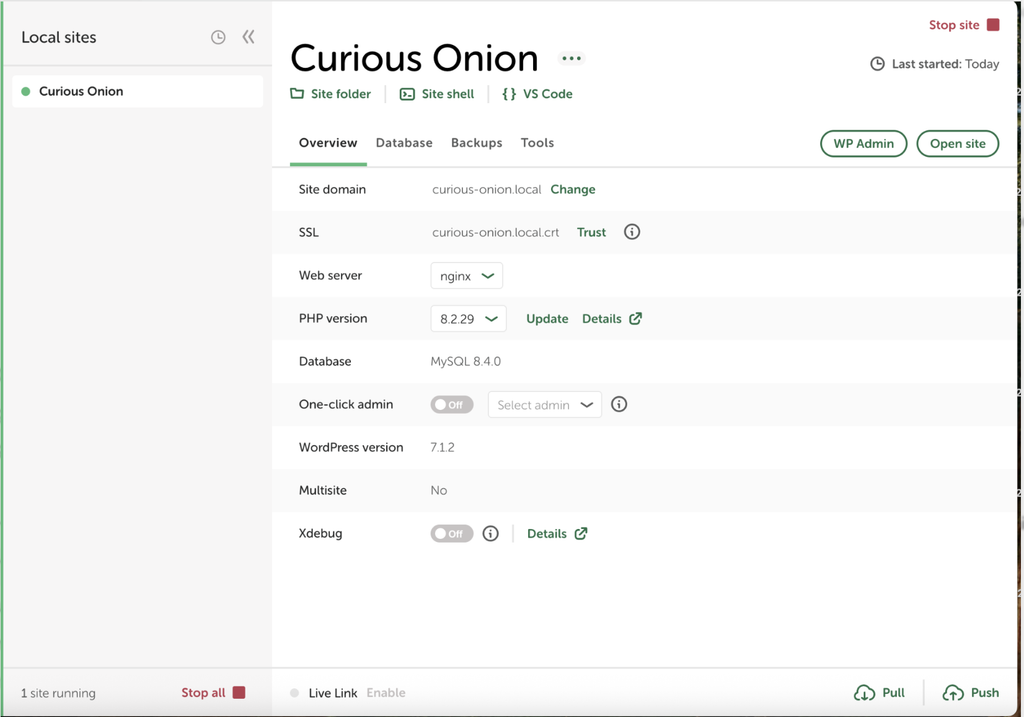
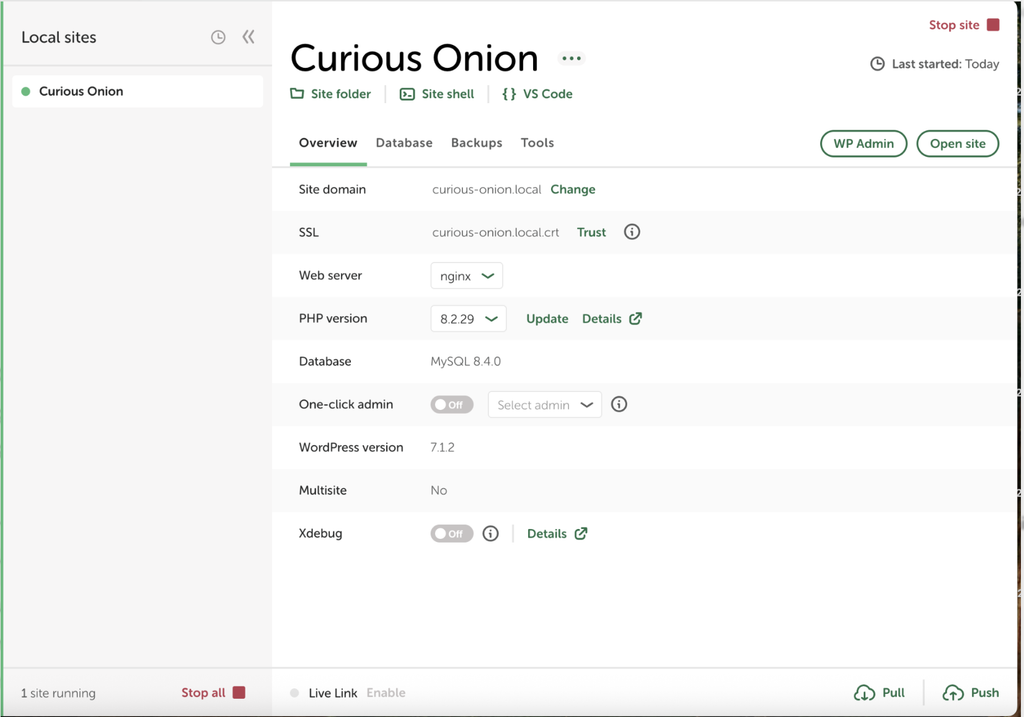
After all that drama, I managed to create a new site again without any issues. I finally saw a screen like below with a green dot beside the Curious Onion button at the sidebar.
Accessing the WordPress Dashboard
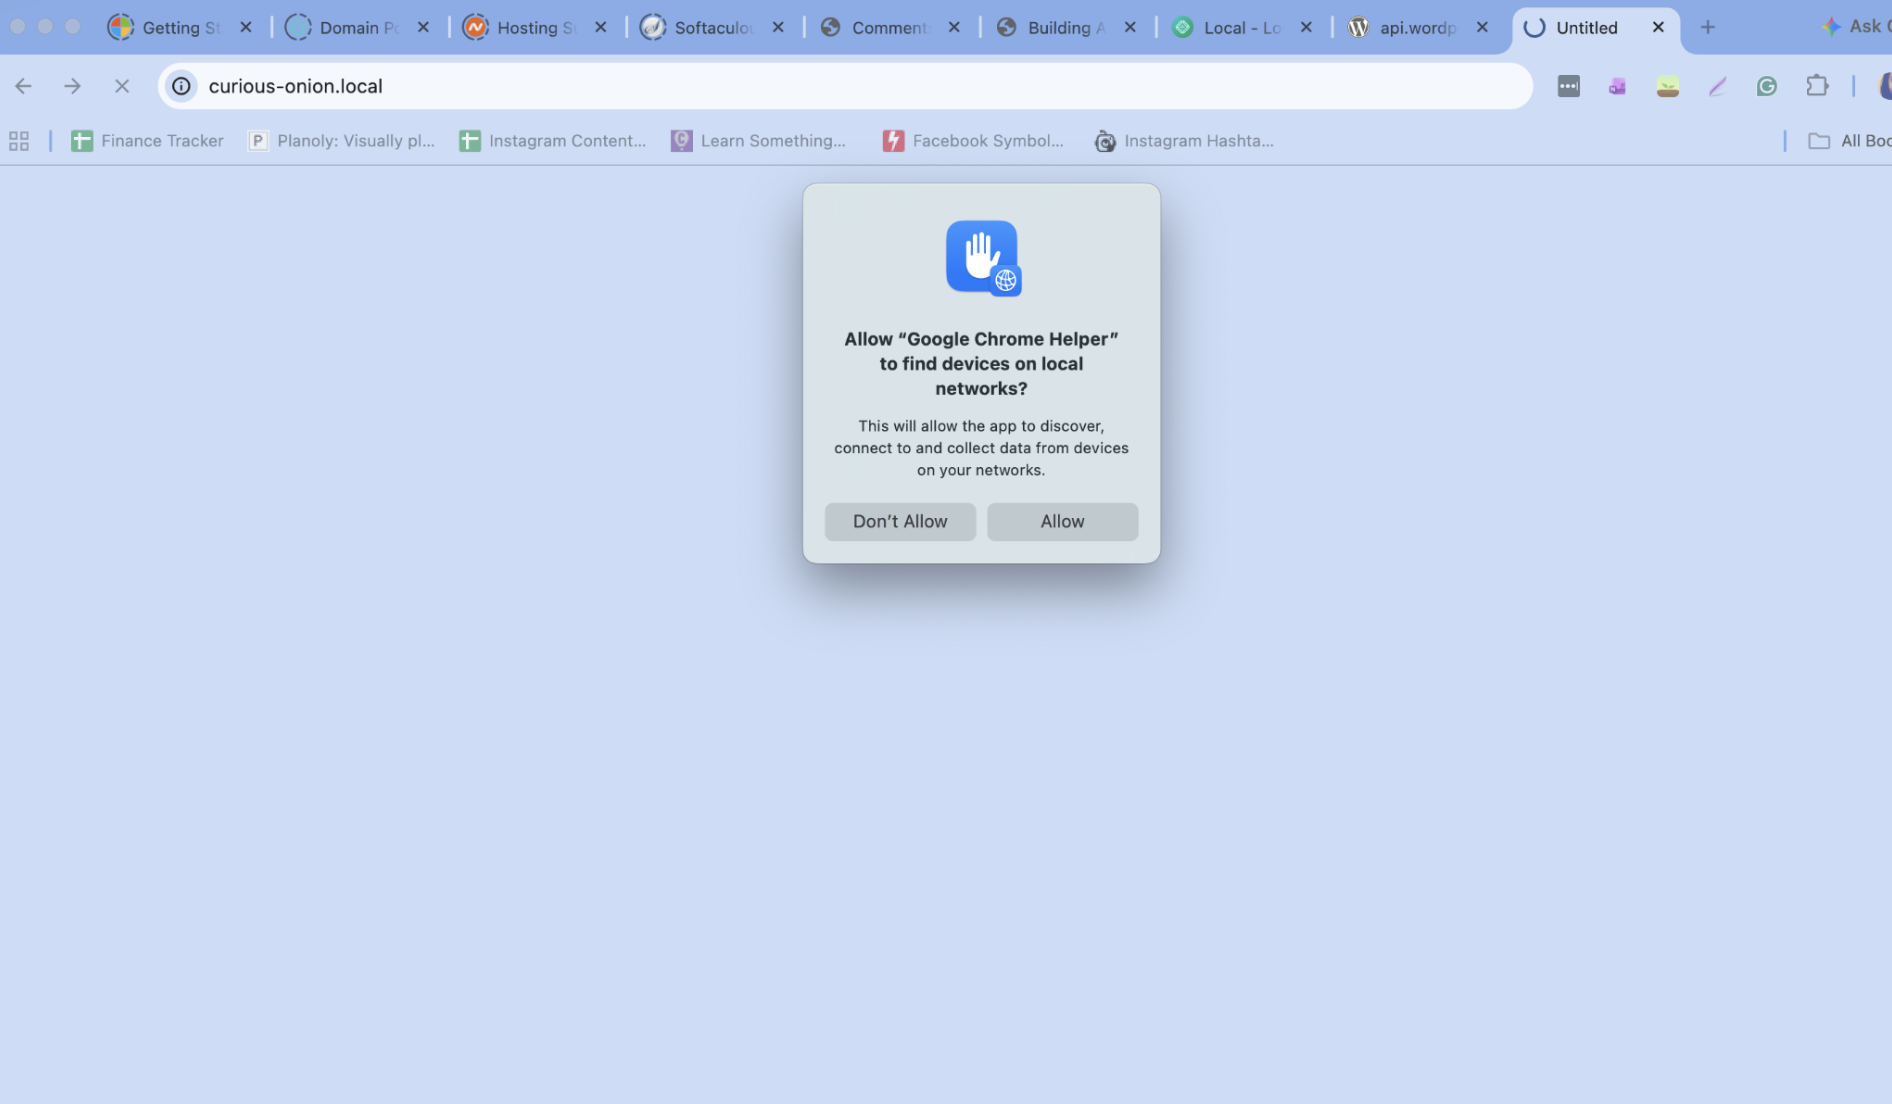
If you remember, I set this site’s domain as http://curious-onion.local. So now, all I have to do is access this domain to see if I’d see anything on my browser. I saw a prompt like below and I just clicked Allow so I can access the local site.
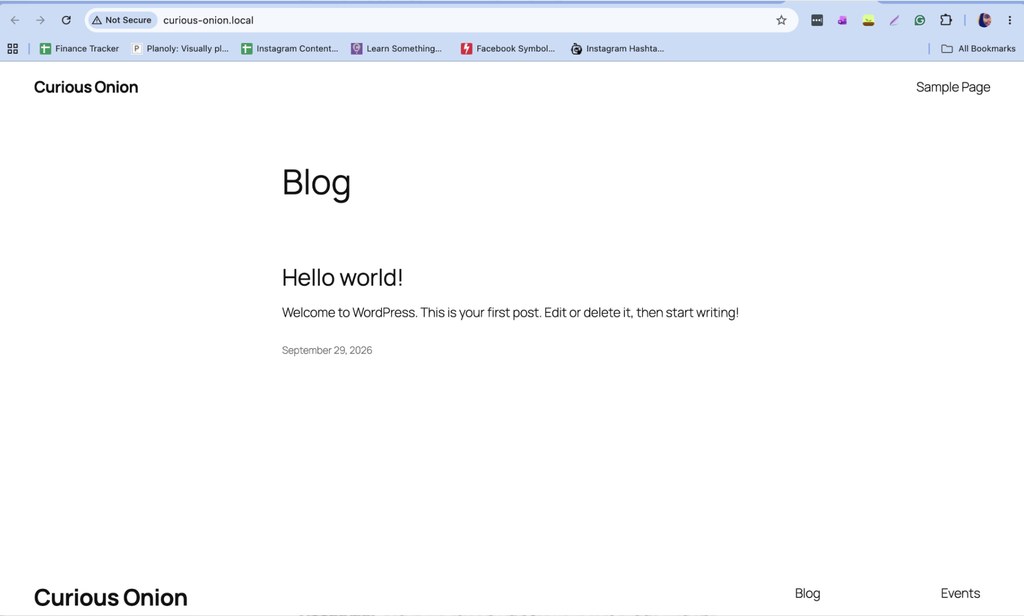
Finally, I could see the adorable Hello World Homepage! I now remember the little joys of tech when things finally workout after several but minor hurdles. I finally, finally got this WordPress locally on Mac after a few hours!
Next thing I wanted to see was a WordPress Dashboard. This would allow me to access the WordPress themes. Going back to the Local App, there was a WP Admin button near the Green Open Site button. See the image below. All I had to do was click that, and then like any WordPress Admin access, it will ask for a username and password. I just typed in the username and password that I setup earlier.
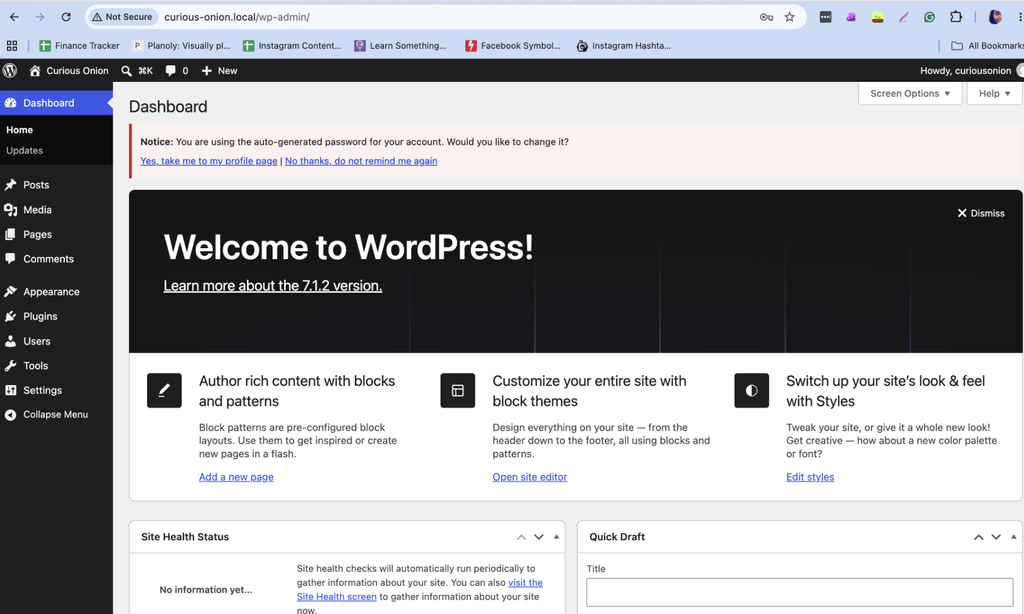
We are here!! This is where I’d be able to access the theme that I would then be creating and testing in this computer.
Next thing I’d be tackling is to just make sure that I could see and access my Curious Onion theme from the Dashboard. That was a whole other setup that I had to deal with and had hurdles with. I’ll talk about that in my next article.





Leave a Reply